Setting Up Infrastructure
Table of Contents
Rebuilding in Rust - This article is part of a series.
TL;DR: I setup an AWS EC2 instance for my app.
Introduction #
I knew early on that I needed infrastructure for my app to serve requests to the public. Thus, I decided to pivot and focus on the infrastructure of the app. As discussed in my previous posts, I chose Amazon Web Services (AWS) as my platform of choice. The goal is to make the API public. Learning how is a bonus.
Step 1: Choosing the Right EC2 Instance #
My first task was to select the appropriate EC2 instance type. AWS offers a free tier instance that I could utilize for up to a year. This provided a perfect opportunity for me to learn the ropes of infrastructure development without incurring additional costs.
Step 2: SSH Access and Essential Packages #
After choosing the free tier EC2 instance, I swiftly accessed my server through SSH. Once in, I installed key packages such as git, nginx, rustc, and cargo. These tools enabled me to efficiently fetch my application code from my Git repository, compile it directly on the server, and execute it. NGINX is important for later steps.
Step 3: Navigating Nginx Challenges #
Setting up Nginx was a bit more of a challenge. Routing HTTP and HTTPS requests with NGINX was complicated. Eventually, it required a configuration file to specify ports (80 for HTTP and 443 for HTTPS) and the server’s IP address or domain name. I directed requests from these ports to my application running on http://localhost:8080. Below is an example of the configuration file:
server {
   listen 80;
   server_name your-ec2-ipv4-dns;

   location / {
       proxy_pass http://127.0.0.1:8080 # also known as localhost:8080;
       proxy_set_header Host $host;
       proxy_set_header X-Real-IP $remote_addr;
       proxy_set_header X-Forwarded-For $proxy_add_x_forwarded_for;
   }
}
Step 4: Establishing Domain Name and SSL #
Securing a domain name for my API was the next hurdle. I have a domain on Cloudflare, and I wanted to attach this domain name to my EC2 instance. This task required creating a DNS record on Cloudflare and directing it to my EC2 instance. Transitioning to HTTPS meant I had to install certbot on my server. certbot allowed me to generate an SSL certificate for my app ( I ran the command sudo certbot certonly --nginx -d example.com -d *.example.com while I was logged in to my server). The certbot handles auto-renewal of the SSL certificate. Also, quick reminder: please generate a SSL certificate for both domains, e.g: example.com and www.example.com, as it would make the app look unsecured as the certificate generated doesn’t match. With the certificate generated, I included the path of the certificate into my NGINX configuration. With this, I was able to create a secure connection to my app. It should look like below:
server {
   listen 80;
   server_name example.com www.example.com;
   return 301 https://$host$request_uri;
}

server {
   listen 443 ssl;
   server_name example.com www.example.com;

   ssl_certificate /etc/letsencrypt/live/example.com/fullchain.pem;
   ssl_certificate_key /etc/letsencrypt/live/example.com/privkey.pem;

   location / {
       proxy_pass http://127.0.0.1:8080;
       proxy_set_header Host $host;
       proxy_set_header X-Real-IP $remote_addr;
       proxy_set_header X-Forwarded-For $proxy_add_x_forwarded_for;
   }
}
Step 5: Opening up Ports #
Although I’ve set up the server to accept requests from port 443 and port 80, I still need to open up these ports on the EC2 instance. This step is crucial as it allows the server to accept requests from the public. I opened up these ports by adding them to the security group of my EC2 instance. Port 80 for HTTP and port 443 for HTTPS. By default, it should have an SSH port open, which is port 22.
Step 6: Running it in Background #
Now the app can accept HTTP/HTTPS requests, but only when I’m logged in to the server though. Enter tmux, a versatile tool enabling me to run multiple terminals concurrently in the background. Once tmux was set up, I launched my app in a detached process, ensuring it operated without me in the server. Thus completing my journey and allowing me to access the app via the URL: https://url-api.amrllkmn.com as below:
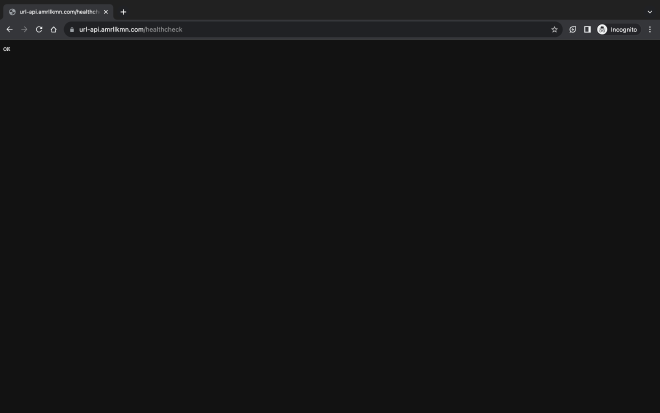
See the lock next to the url? That’s the SSL certificate in action.
Conclusion #
I’ve laid the groundwork for my app and at the same time learned invaluable experience in infrastructure development. I am excited to continue my journey in developing (to be more precise, re-developing) this app. Besides that, I finally understand what the trade-off is between allowing a provider to handle it for me (like Render) and doing it myself. There’s a lot more steps, but more control as well.